Go to the Dev environment where you do customization/configuration.
Go to the Solution that you want to run through the Pipeline for deployment.
For simplicity, this Solution has just one custom security role
Now, click on Pipelines and look for the Deployed Pipeline which is ready to be used.
Now, once you get to see the stages which you have set in the blog post – Setup Power Platform Pipelines, those stages will appear here. Then, verify the environment details mentioned and then click on Deploy here once you are sure.
Now, once you click on Deploy here, you’ll be given option to choose when you want to deploy – whether now or later.
For this example, I’m choosing Now instead of scheduling it for later. Then, I click Next and it’ll go into Validating Stage.
Once everything looks good, you'll get AI-generated notes if you're in the US region (at the time of writing this post). Alternatively, you can write custom notes to provide a brief on the deployments, such as the work item number and the components in the solution. Then, click "Deploy" once everything is ready.
Once this is in progress in the background, you’ll see that the pipeline is deploying your solution.
Once this is completed, you’ll see that this is deployed successfully.
And this will be successfully deployed to the Target environment like so in the Managed Solutions section.
Go to the pipelines host environment and open the deployment pipeline configuration model-driven app.
Assign A User To The Deployment Pipeline Administrator Role
The deployment pipeline administrator role gives users access to the deployment pipeline configuration app and the ability to create & edit pipelines in the host environment. To assign a new pipeline administrator, open the security teams page and select deployment pipeline administrators.
Press the add existing user button in the Team members subgrid.
Choose the user you want to become a Power Platform pipelines administrator. Then press the Add button.
The user appears in the team members subgrid.
Add Users To The Deployment Pipeline Users Role
The deployment pipeline user role gives the user an ability to run a pipeline that is shared with them. To add a new pipelines user, go to the security teams page and select deployment pipeline users
Look for the team members subgrid and press the add existing user button.
Choose one or more users to become Power Platform pipeline users. Press the add button.
The Power Platform pipelines users now show up in the team members subgrid.
In this article, I will cover how to deploy Power PagesWebsites from the Development to Target environments using pipelines.
Scenario:
In my Development environment, named Developer Dev, I have a website called ‘Hello World’
I need to deploy the Hello World website to my Test environment using Pipelines.
Prerequisites:
To move the Hello World website from Developer Dev environment to Test environment, both the Developer Dev and Test environments need to be switched to Enhanced Data Model.
Let’s deploy this solution to the target stage by navigating Pipelines , selecting a stage (i.e., Test Environment) and click on Deploy here.
In the Deploying Solution pane, you’ll find tabs for both Connections and Environment Variables, which you can configure before deploying the solution.
Once the deployment is complete, you can verify that the solution import changes are reflected in the target environment (i.e., Test).
That’s how pipelines allow you to configure Connections and Environment Variables during the deployments.
In the prerequisites of that article, I emphasized, ‘Ensure that the development and test environments are in the same region,’ meaning that the Development and Target environments must be located in the same region.
Now, let’s learn how to deploy solutions across different regions by enabling the Cross-Geo Solution Deployment setting.
Enable cross-geo solution deployments:
Administrators can enable solution deployments via pipelines across geographical regions. This provides flexibility for organizations that are distributed across geographical regions.
To enable the cross-geo setting for pipelines,
Play the Deployment Pipeline Configuration Model Driven app on the Host environment.
Select Advanced Settings from the left navigation pane.
Enable or disable the Cross-Geo Solution Deployment setting with the toggle.
Select Save.
After enabling this setting, you can configure Deployment Stages in a pipeline to point to different regions.
In this article, let’s learn how to configure and runpipelines in Power Platform, along with prerequisites and other useful details for power platform solution deployment.
What are pipelines in Power Platform:
Pipelines deploy Dataverse solutions as well as configuration for the target environment such as connections, connection references, and environment variables.
Any Power Platform customization contained in your solution can be deployed using pipelines.
Power BI Dashboards (preview) and Power BI Datasets (preview) are not currently supported in pipelines.
Prerequisites to use pipelines:
All environments used in pipelines must have a Microsoft Dataverse database.
All target environments used in a pipeline must be enabled as Managed Environments.
Managed Environments isn’t required for the pipelines host or developer environments.
Be sure to choose the same region that your development, test environments are created in.
Environment topology for using pipelines:
To understand the Power Platform environment structure, let’s explore a scenario where we move a simple solution from the Dev to the Test environment.
To deploy a Dataverse solution from a Dev to Test environment, we need a Host environment to setup the Pipelines.
Please keep in mind that, Host environment is just like any Dataverse enabled Environment. You can also use your Dev environment as Host which is not recommended.
In our scenario, I have the following environments in my tenant and will be using the following structure.
Host Environment : COEKit
Dev Environment : Dev
Test Environment : QA
An important note is that all target environments (i.e., Dev and QA environments in our scenario) used in a pipeline must be enabled as Managed Environments.
However, since both my Developer Dev and Test environments are of the Developer type, I don’t need to make them Managed.
Setup pipelines in Host environment:
As mentioned above, COEKit will be my Host environment. Let’s set up the pipelines. This step is only required for the initial host setup.
Install the Power Platform Pipelines application in your host environment by selecting the host environment, then select Resources > Dynamics 365 apps.
Select Install app and scroll down within the right-side panel until you find Power Platform Pipelines.
Select Next, if you agree, accept the terms, and then select Install.
Once installed, the deployment pipelines configuration application appears in the list of installed apps.
Go to maker portal and connect to Host (i.e., COEKit) environment. You will see a new Deployment Pipeline Configuration model driven app.
Now that we’ve completed the Host setup, let’s proceed with pipeline creation.
Configure Pipelines:
In the pipeline, we primarily configure the Development and Target (i.e., Test) environments. We’ll begin by capturing the environment IDs for both the Dev and Test environments.
Copy the Environment IDs:
Copy the environment IDs of Developer Dev and Test environments.
Open the Dev environment in Maker portal.
Go to Settings > Session details
Copy the Environment ID as highlighted below.
Repeat this step for QA environment and copy the Environment ID
Once we have the environment IDs, we’ll need to create Environment records. These records are essential for setting up the Pipeline.
Create Environments:
Play the Deployment Pipeline Configuration Model Driven app on the Host environment (i.e., COEKit)
Lets first create the Environment record for our development environment (i.e., Dev)
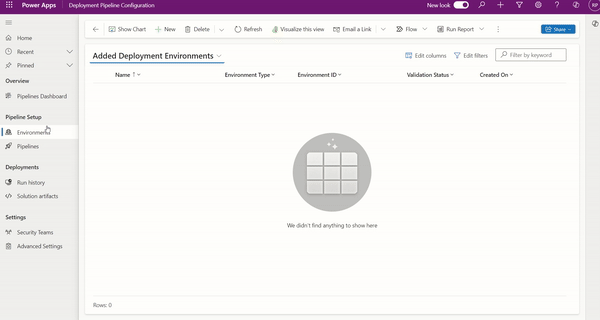
In the Deployment Pipeline Configuration app, select Environments on the left pane, and then select New:
Name: Enter the name for the environment record.
Environment Type: Select Development Environment.
Environment Id: Be sure to provide the correct ID of Dev which we copied in the above step.
Select Save.
Next create the Environment record for our QA environment (i.e., Test) by repeating the steps above.
Refresh the form, then verify Validation Status equals Success for both environments.
Now that we have Environment records, we are good to create Pipeline.
Create Pipeline:
Now that we have Environment records created, lets proceed with Pipeline creation.
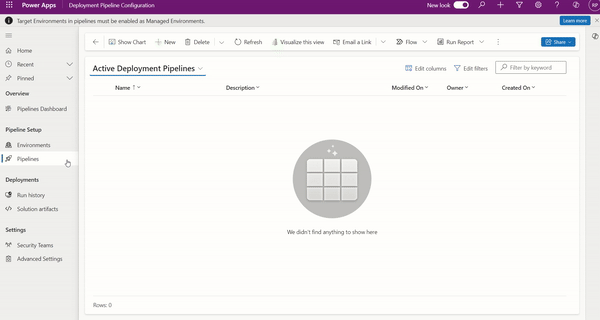
In the Deployment Pipeline Configuration app, select Pipelines on the left navigation pane, and then select New to create a new deployment pipeline:
Name: Enter a name for the pipeline
Description: Optionally, enter a meaningful description for the pipeline
Save the Pipeline record.
In the Linked Development Environments grid, select Add Existing Development Environment, then associate development environments (i.e., Dev Environment). A pipeline must have at least one development environment and one stage before it can be run.
Next, we need to add the target QA environment to the Pipeline.
In the Deployment Stages (Deployment Pipeline) grid, select New Deployment Stage.
Enter the details for each stage, and then select Save and Close:
Name: The name of the stage.
Description (optional): Optional description for the stage.
Previous Deployment Stage (optional): Specifies a deployment stage that must be deployed to before deploying to the current stage.
Target Deployment Environment: This is the target environment where this stage deploys to.
PreDeployment Step Required (optional): Deployment requests are pending until approved via custom business logic.
That’s it! Since we’re using a single target environment, we create a single stage so the pipeline configuration is complete.
In case of multiple target environment, Repeat the previous steps for each stage.
In the pipeline, you must have at least one stage. You can add up to seven stages.
Run Pipeline:
To run the pipeline connect to the Dev environment (i.e., Dev).
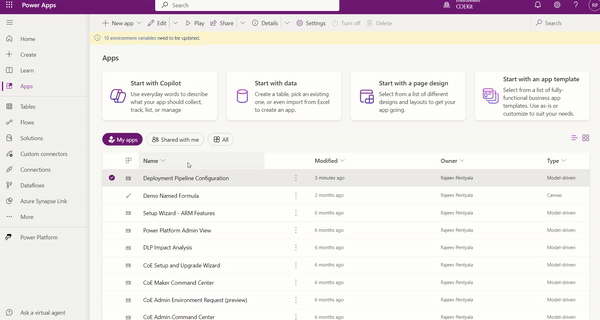
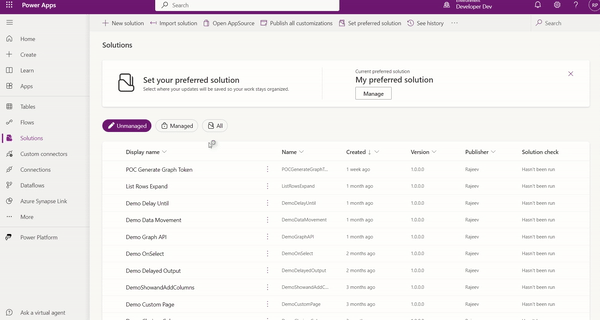
To deploy a solution using a pipeline, go to Solutions and create or select an unmanaged solution to deploy.
From the Solutions area, choose between two options to include the solution in the pipeline:
Select Pipelines from the left navigation pane.
Select Overview from the left navigation pane, and then select Deploy on the command bar.
Select the stage to deploy to, select Deploy here, and the deployment pane appears on the right.
Choose to deploy Now or schedule for Later, and then select Next on the right pane.
If connection references or environment variables are present, you’re prompted to provide these (just as you would when manually importing solutions).
Review the summary of the deployment and optionally add deployment notes.
Select Deploy. This initiates an automated deployment to the target environment.
Solution import may take some time. Once deployed, you will receive a notification as shown below.
You can access the Run History records from the Deployment Pipeline Configuration app, which provides details about pipeline runs
The exported and deployed solution’s Unmanaged and Managed versions will be available under Solution artifacts.
I hope this gives you a good understanding of the basics of pipelines in Power Platform. I will cover Security and Sharing pipelines to makers in upcoming articles.


 .
.